Red Interior Design That Photographs Well for Home Listings
Real estate photography has one job: make someone want to walk into a room they’ve never seen.
Red is one of the hardest colors to photograph well — and one of the most powerful staging tools available when it’s used correctly. The same red room that looks jaw-dropping in person can look garish, orange, or overwhelming in a listing photo. But a red room that’s been staged and lit for photography can make your listing the most memorable one in the browser tab.
Here’s the guide, and Tip #4 is the staging secret that professional photographers use in every shoot.
Understand Why Red Misbehaves in Photography
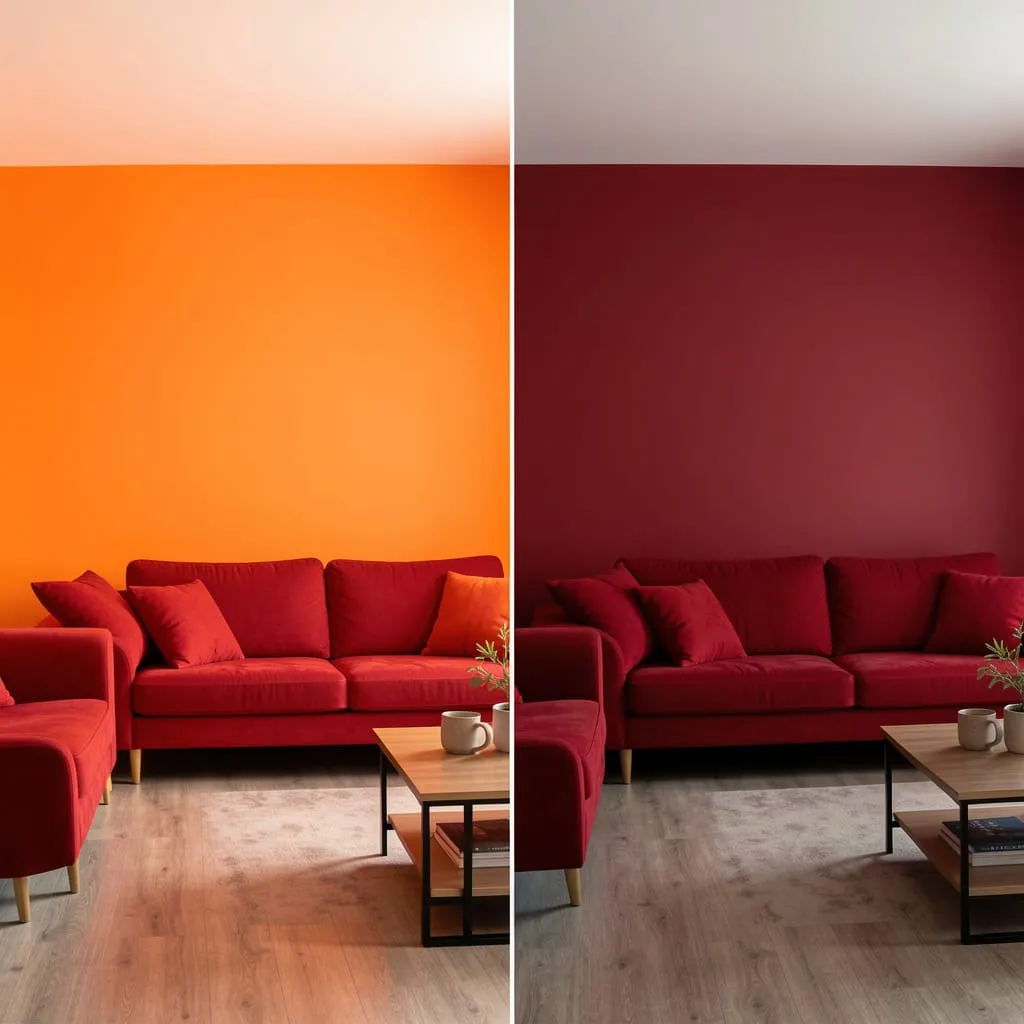
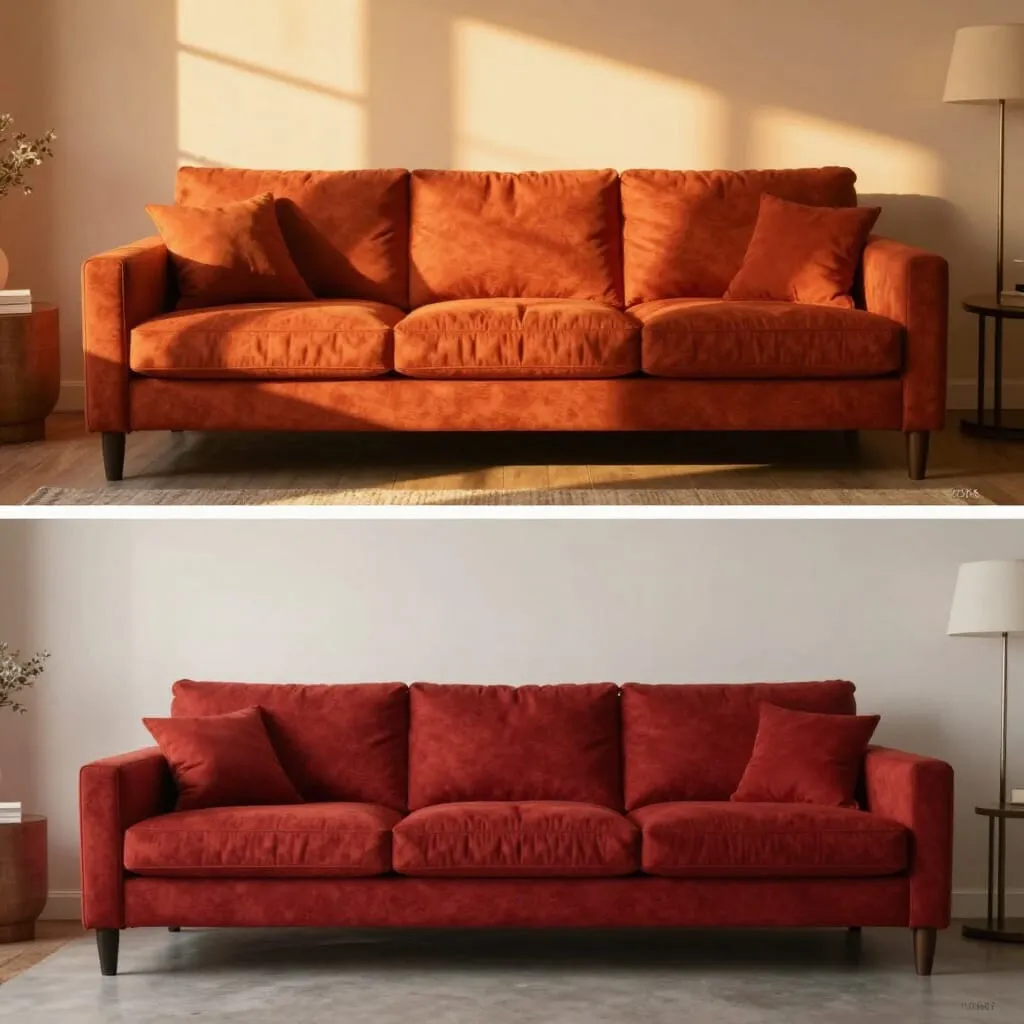
Phone and amateur cameras handle red differently than the human eye does. They tend to:
- Oversaturate: Making red appear brighter and more orange than it actually is
- Blow out highlights: Losing the depth and complexity of rich red tones
- Shift toward orange: Particularly in warm light conditions
The good news: most of the fixes happen during staging, not post-processing — meaning you can prepare your red room for great photography without hiring a professional editor.
Choose the Right Time of Day for the Shoot
The time of day for your photography shoot matters more for red rooms than for any other color.
Best: Overcast daylight. The diffused, neutral light of an overcast day renders red most accurately — without the orange shift of warm sunlight.
Second best: The hour after sunrise or before sunset in a room that doesn’t receive direct sunlight at those times.
Worst: Midday direct sunlight on a red wall. This creates the maximum orange oversaturation and blown highlights.
Schedule your shoot for an overcast morning if possible.
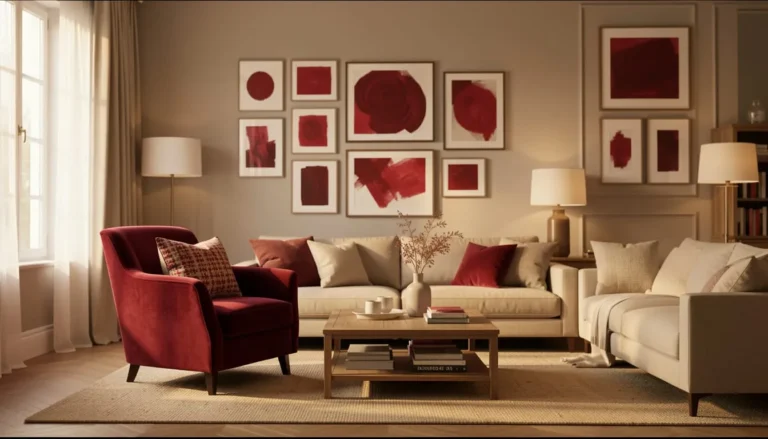
Declutter More Aggressively Than Any Other Room
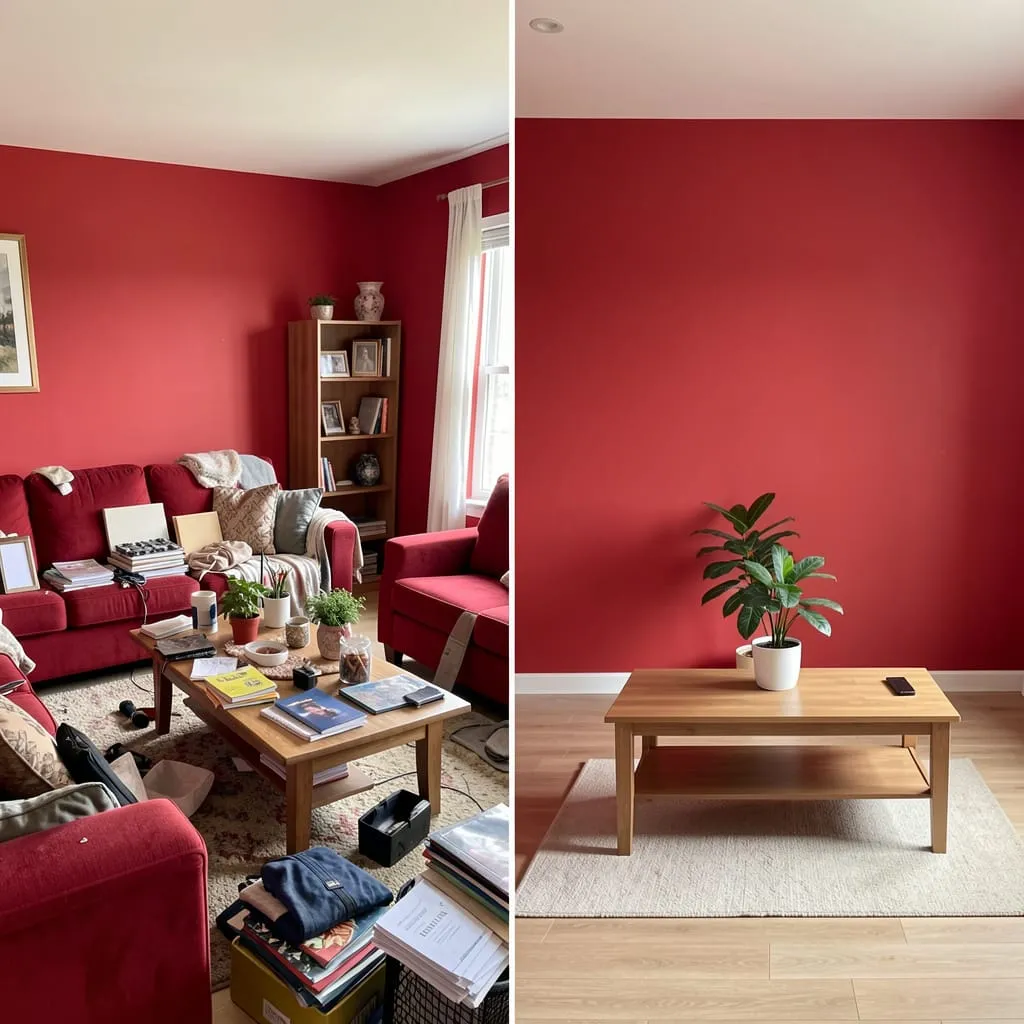
Red amplifies visual noise. For photography, remove at least 60% of accessories and decorative objects. What remains should be:
- Maximum three objects on any surface
- One plant (adds organic life without visual noise)
- No personal photos or highly personal items
- No visible cables, remotes, or functional clutter
The red wall needs visual space around it to read as designed rather than overwhelming.
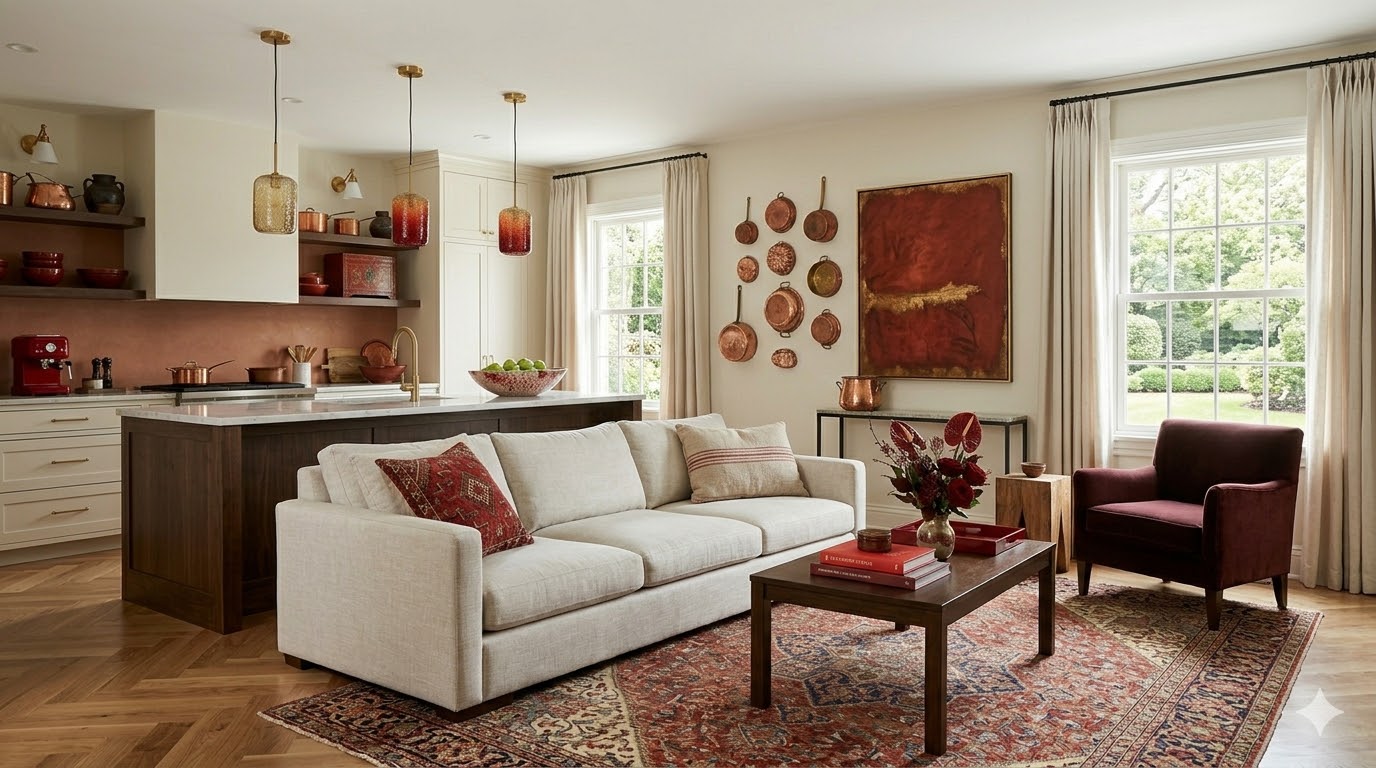
Use Professional-Grade Lamps for Shoot Day

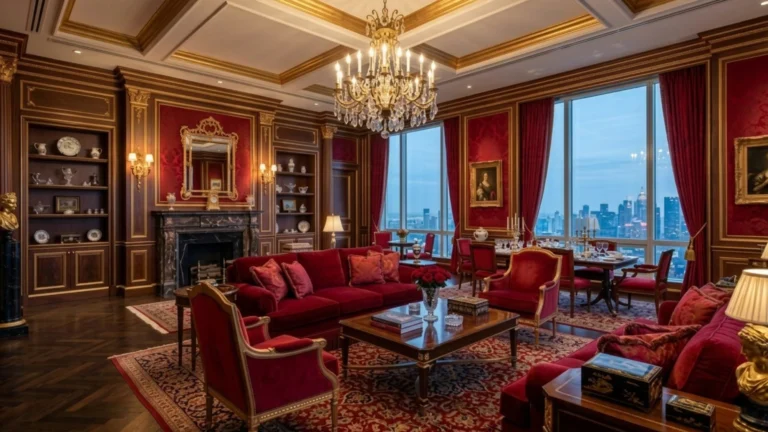
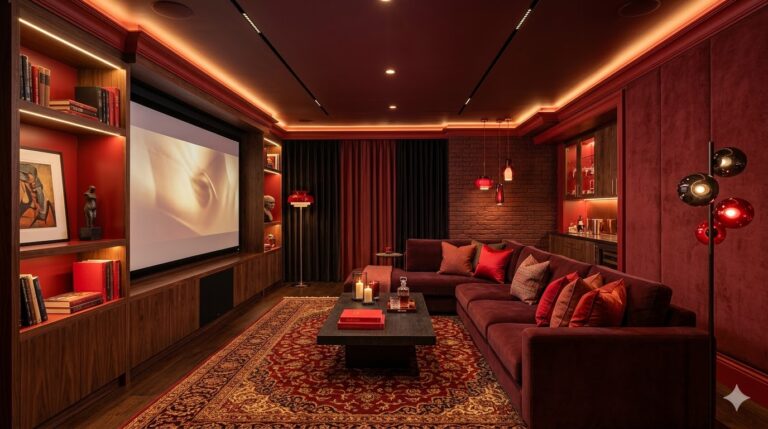
For the actual shoot, every warm lamp in the room is switched on, and overhead lighting is switched off entirely. This is the staging secret that professional photographers use.
Multiple warm lamp sources create the layered, atmospheric lighting that makes red look its best — and they serve a technical purpose in photography, creating depth through shadow and highlight that makes the room look three-dimensional.
For your listing shoot:
- Switch on every lamp in the room, including bedside lamps and accent lighting
- Switch off all overhead fixtures
- Replace any non-warm bulbs with 2700K equivalents the day before
Style the Room to Show the Red Working Harmoniously

Buyers need to see that red works — that it’s not a problem they’ll need to solve. Your staging should demonstrate:
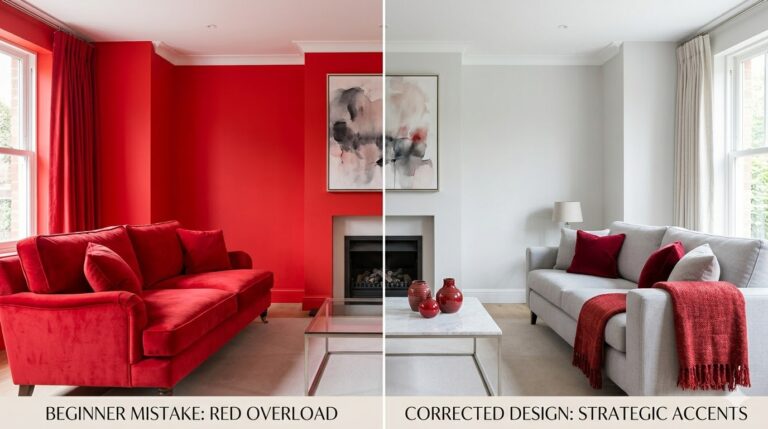
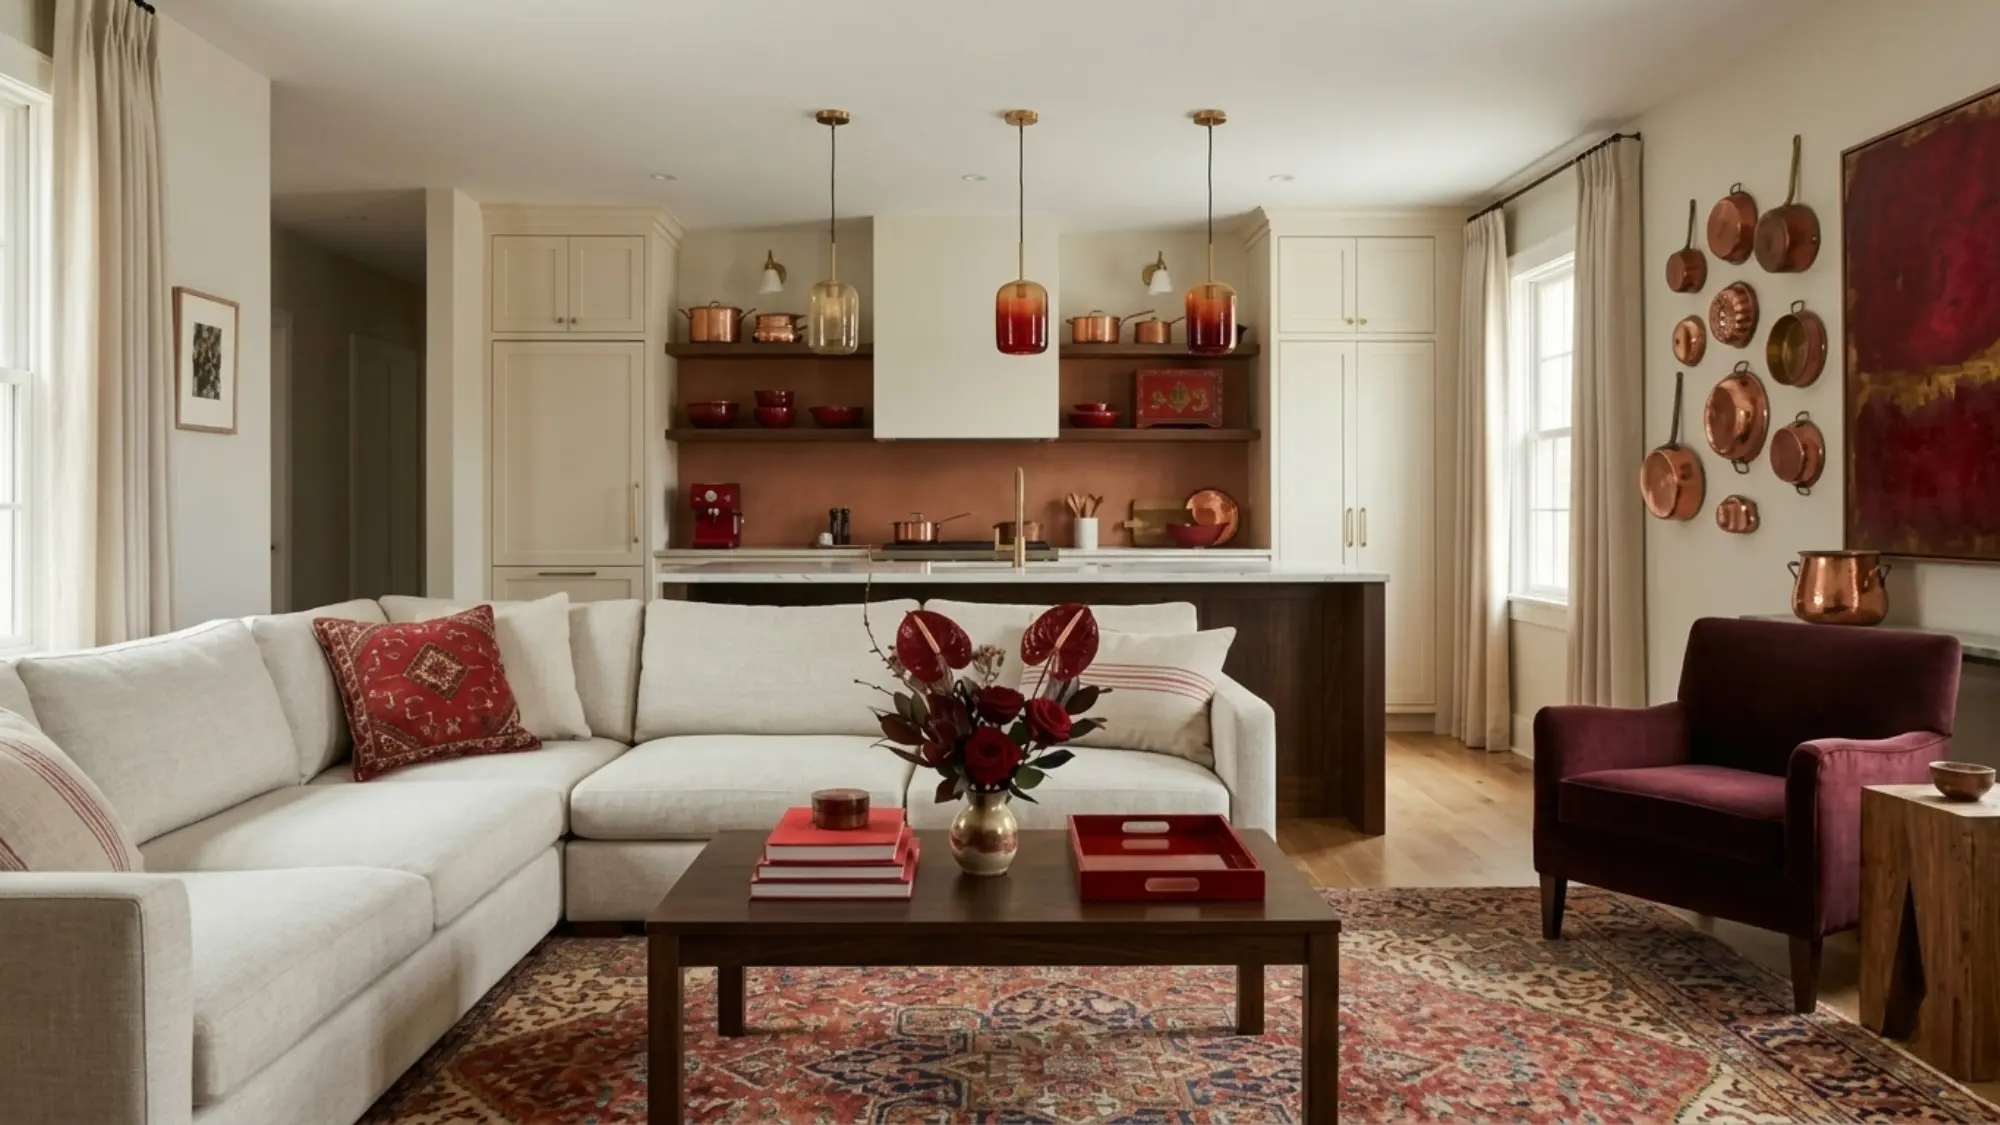
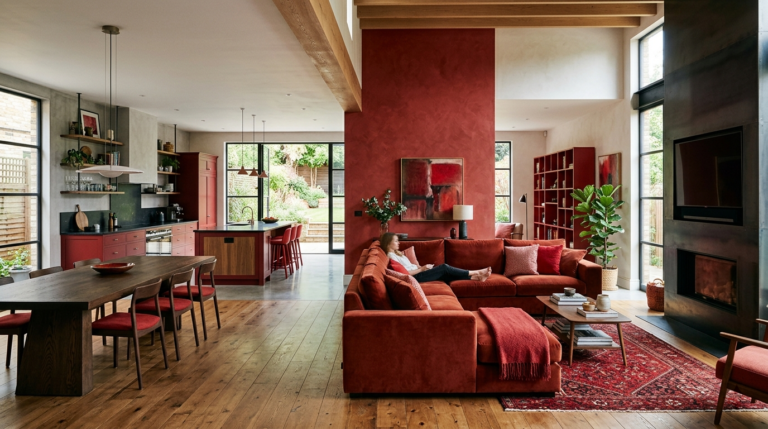
- Show the contrast: The cream sofa against the red wall demonstrates that neutral furniture pairs naturally
- Show the light: Lamps on demonstrates the room is warm and atmospheric, not dark
- Show the space: Minimal furniture demonstrates the color doesn’t shrink the room
- Show the harmony: A single plant shows the room is soft and liveable
Every staging decision should answer an unspoken buyer objection about red.
Consider a Complementary Virtual Staging Option
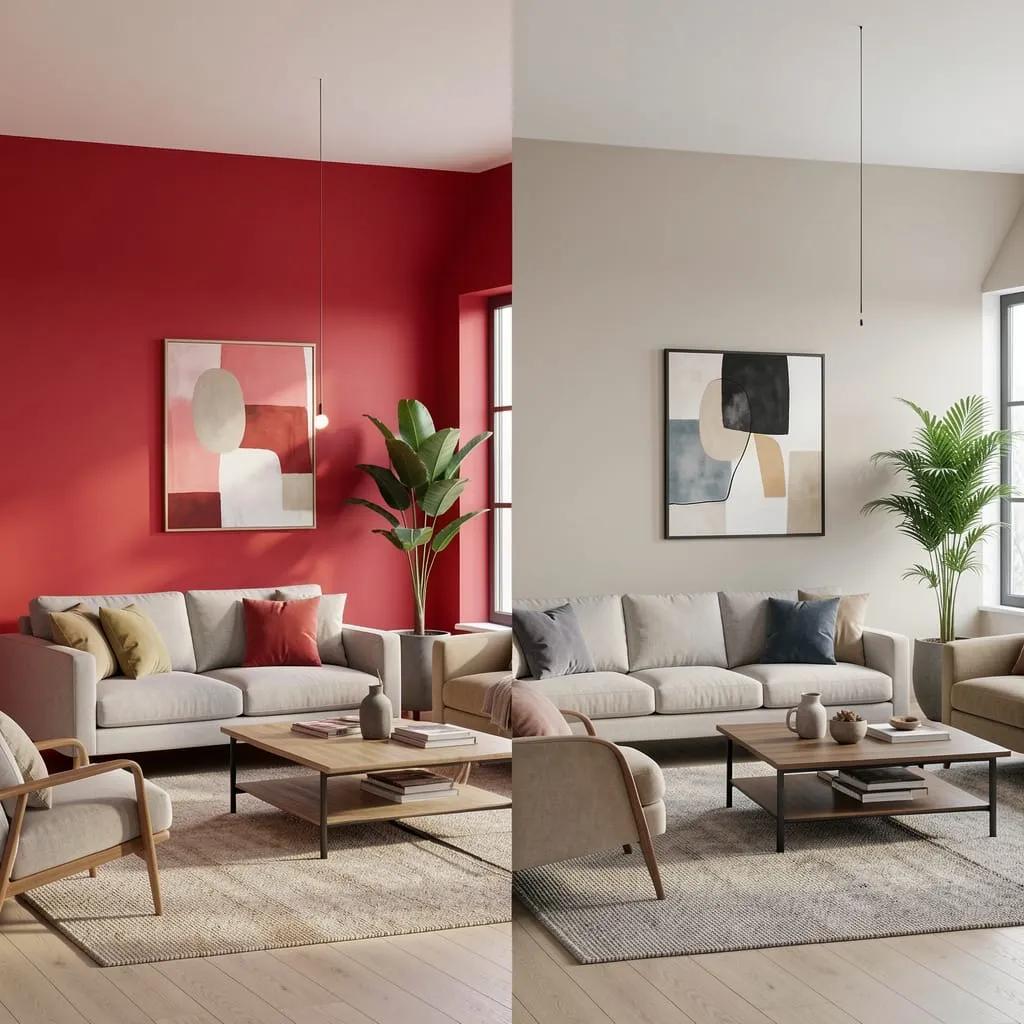
If you’re concerned that some buyers will immediately discount a red room, consider including one virtually staged version in your listing that shows the room with the red wall painted out — demonstrating the room’s proportions and potential with a neutral treatment.
This isn’t hiding the red. It’s demonstrating the room’s versatility to buyers who might not see past the color immediately.
Your Red Room Is Your Listing’s Most Memorable Feature
In a sea of identical white boxes, a beautifully photographed red room is the one buyers remember. It’s the room they come back to. Photograph it well, stage it thoughtfully, and it becomes an asset rather than a risk.
Your next step:
If you’re preparing for a sale and want the full picture, our guide on [Red Interior Design Mistakes Every Beginner Makes →] covers the corrections that will make your red room look its absolute best before the camera arrives.
Or browse the [Red Interior Design category →] for staging ideas and presentation tips across every room type.